

I’ve been spending some considerable time playing with (MID) also known as APAD, Aped, IRobot and China Pads. Most of the time these tabs come with Google’s Android Operating system Pre-Installed. This guide is to people who owns an aped and do want to upgrade their tabs to a higher version, downgrading is also possible. This is in simple English where anyone can understand since most guides are in chines this is a translated version of the original. Read & follow the steps below carefully and you will be safe. *do not try to skip any step; if you do you can kiss your tablet good bye.
To Start Here’s what you should have :
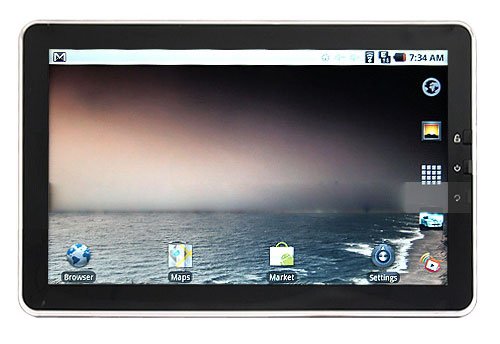
1) Aped (Model M1001 telechip89, upgrade is explained here).
2) USB to OTB Cable
3) Soft Pack From Hipad.(Link Removed by the vendor) 🙁
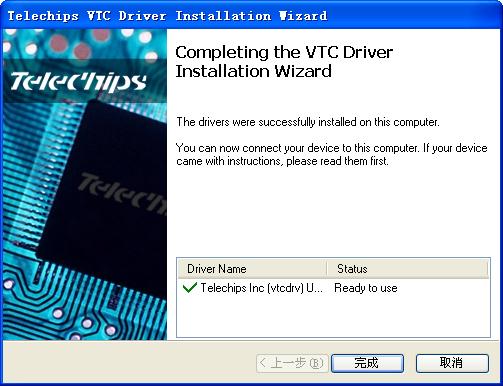
1. Installed (after setting up the driver), the system will search for the driver automatically, install vtcdrv \ x86 folder VTC Driver Installer v5.0.0.1 for x86.


2. After Installing driver, copy the FWDN_V7_CFG.ini file from FWDN_V7_v2.09 folder to root C:\windows
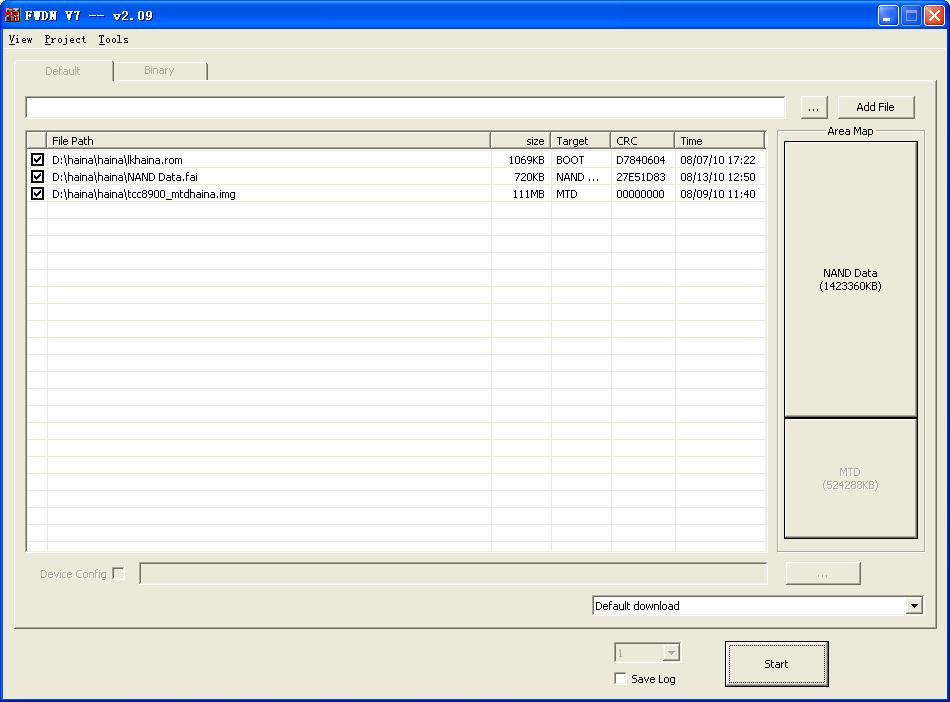
Open FWDN_V7_v2.09 file of FWDN_V7_v2.09 folder

In FWDN (upgrading tool)

As displayed, Add lk.rom NAND Data.fai tcc8900_mtd.img , Sequentially.

3. In the Tools which have Options, open the options:

Select options like in the picture above and fill in OUI and NIC , then click determine. When the factory finished products all the machines has an address. For example 20-59-B0-03-40-12(you can setting the machiness WIFI MAC address at settings Wireless & networks wifi setting– right key(the key at the top right side of the machine) scan/advanced(select advanced).please take note on WIFI MAC address before you update &this is vary important because if more people use the same WIFI MAC address will cause some problems such as cannot use Google Maps & Google Market ,cannot play online video and cannot download or login. At present, many friends these problems are due to WIFI MAC address is the same result. The way to solution is update system software and fill in the WIFI MAC address.
4. After the tablet is turned off (shutdown), please put the ON/OFF key to the OFF position, hold down the MENU key long top right of the machine) , insert the USB cable, toggle ON/OFF key to ON position. (this should happen at the same time of the insertion of the usb-otb cable).
You can see NAND FLASH divided into two areas, like the picture.
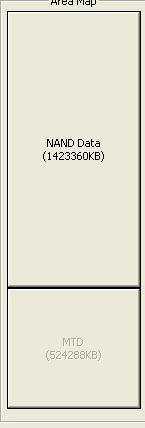

5. Click on the NAND Data (picture above, and the dialog-box below will appear)

6. Select Image File Path D:\haina\haina\NAND Data.fai (your location)
Partition Lable : HaiPad (or what ever the name you want to use)
Click :Create Image.

7. Click OK

8. Select the default Download.

9. Click on Start

10. Wait till the whole process complete with a green message saying successfully done. Then Unplug and restart your device. That’s about it then your ready to Go! Enjoy! 🙂